Motorcycle fairing paint
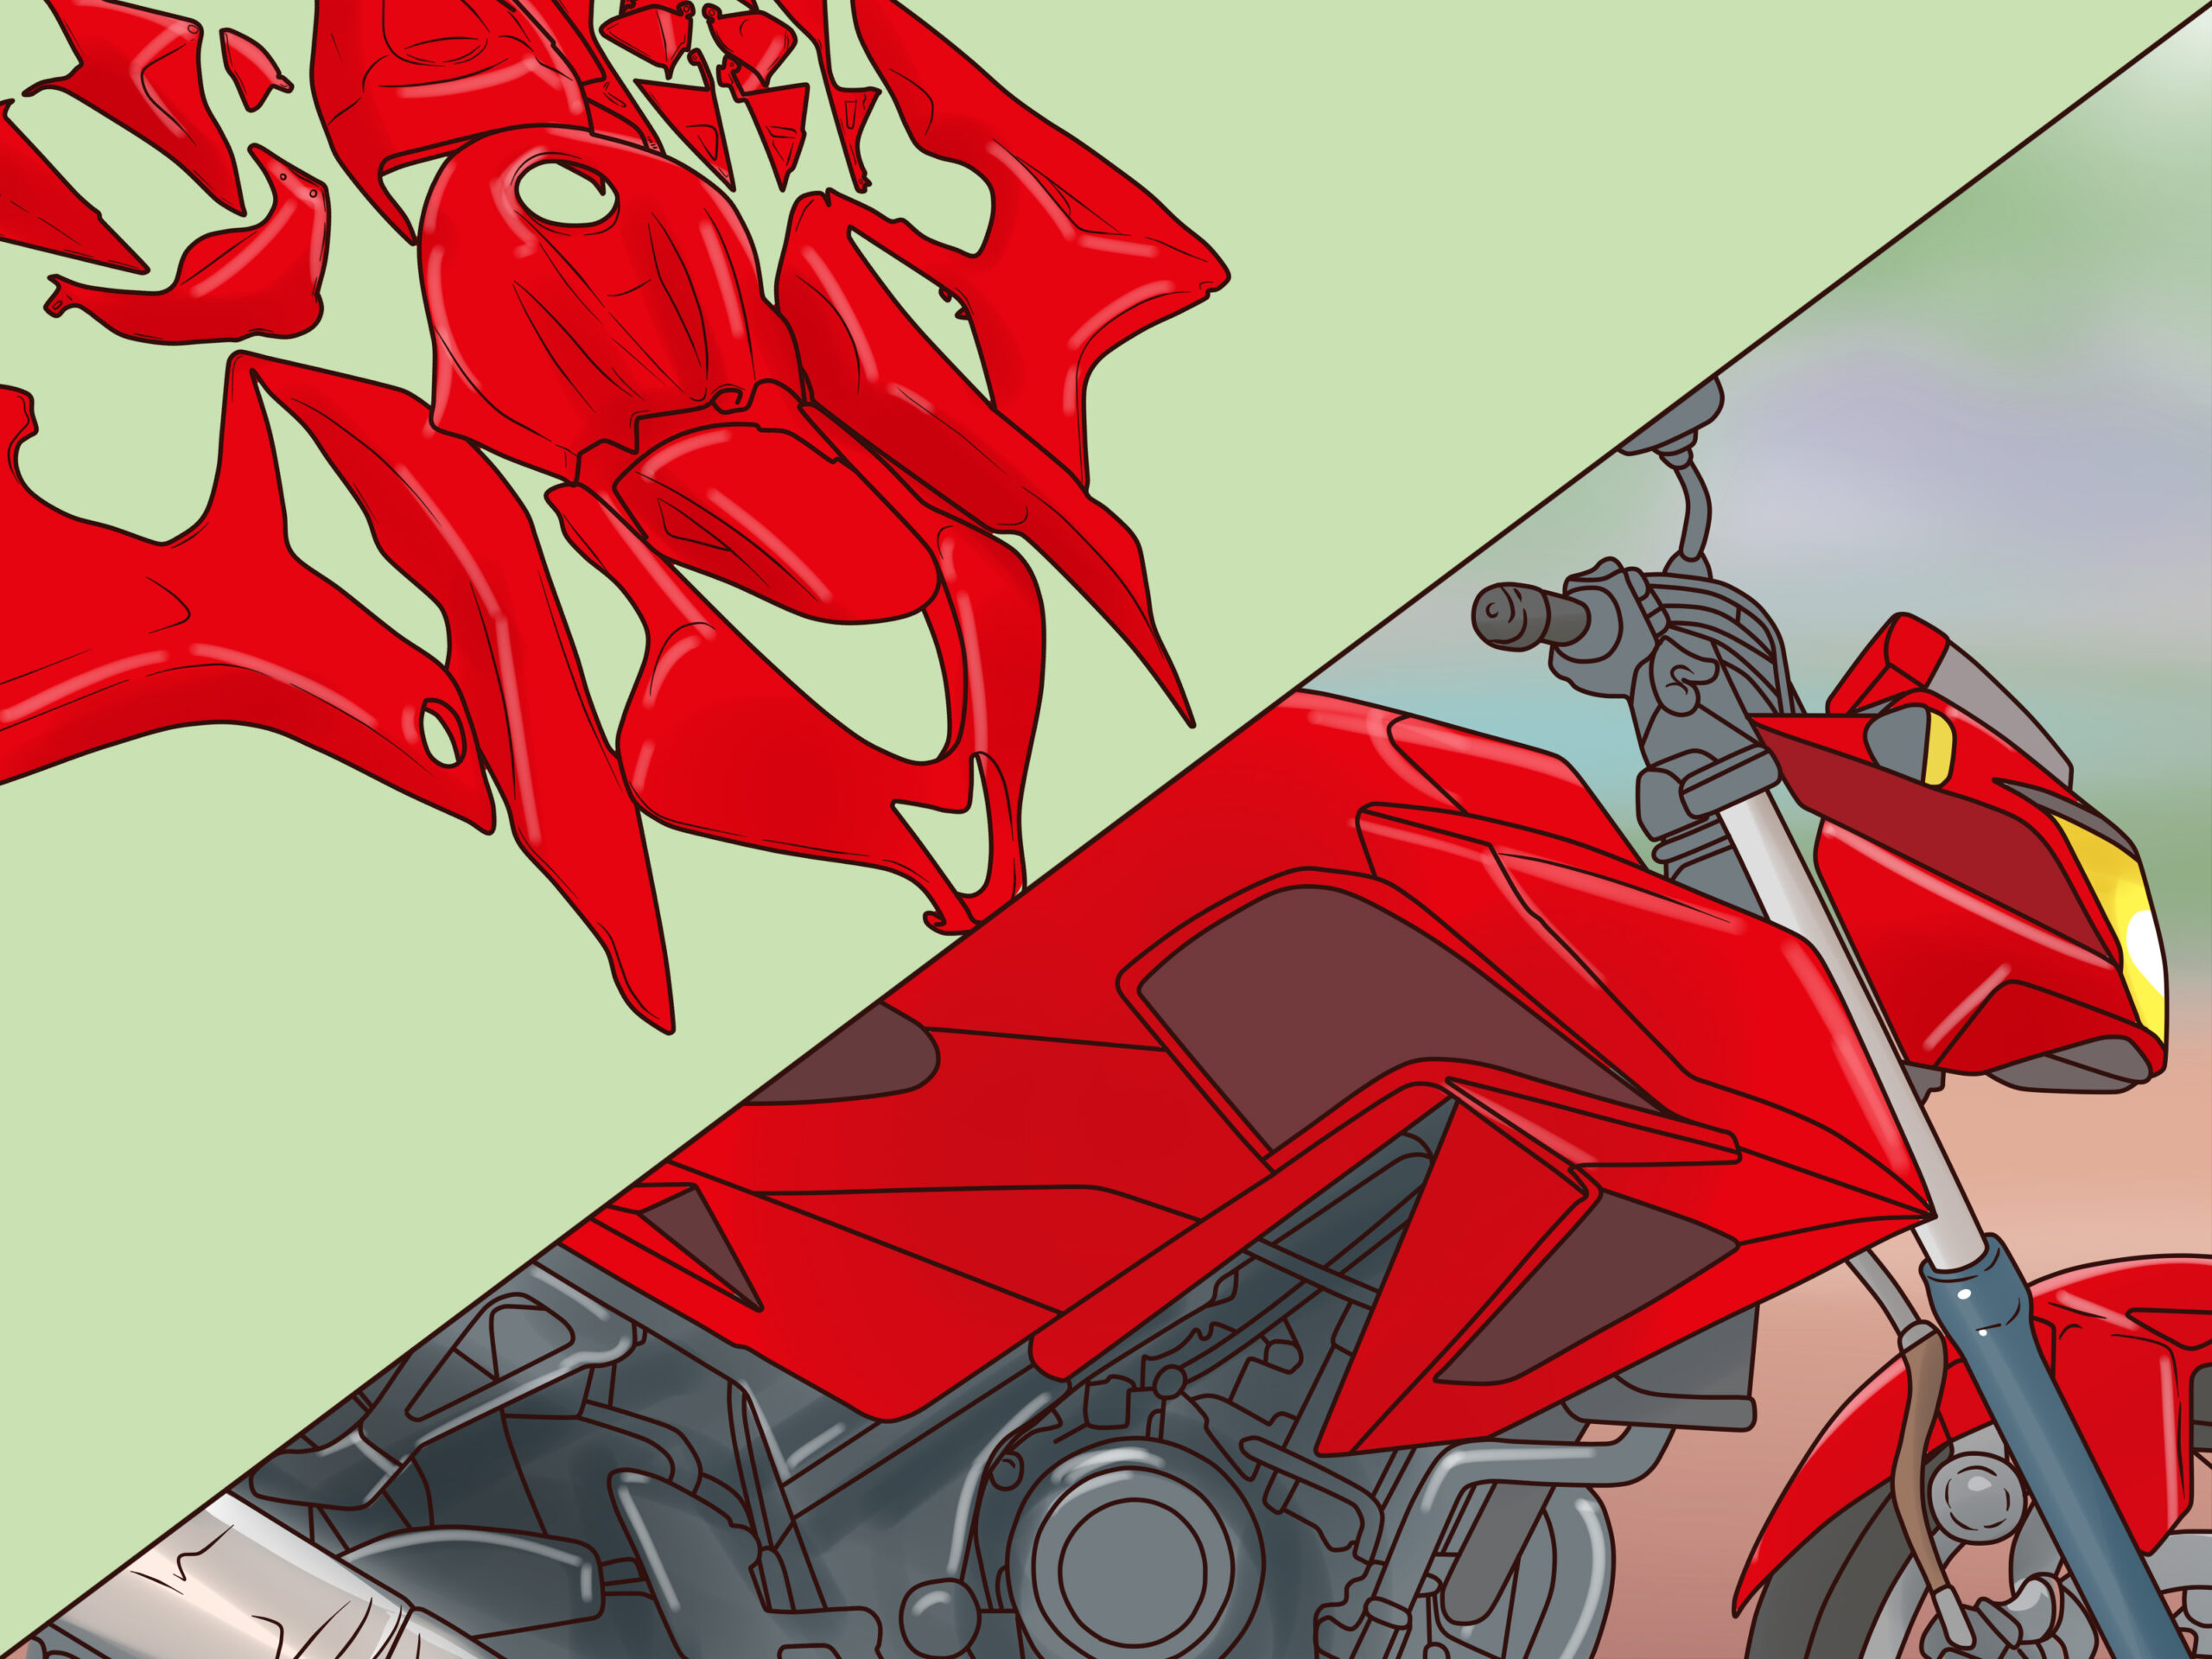
You don't need motorcycle fairing paint to make your bike's small plastic parts look new. Cracked, worn, peeling, or faded bike parts can be easily and quickly fixed with a fresh coat of paint. When it comes to large pieces like fairings, we recommend saving money and letting the pros do the work for you. You'll get a much more consistent finish, which is especially important for large pieces and resale value. But when it comes to more minor things, like this headlight bucket, it's easy to get great results with some knowledge and time.
Prepare, prepare, prepare
How well you prepare the surface before you start motorcycle fairing paint determines how well your job turns out and how long it will last. One of the most significant differences between plastic and metal parts is that if you don't know exactly what kind of material your "plastic" part is made of, like polyurethane, polycarbonate, or fibreglass, it's best to use sandpaper to get rid of the old paint instead of a paint stripper, which could damage the part before you even start.
Our helmet bucket is from a road trail machine from the early 1980s. It's rare and expensive to replace, so we used three different grits of sandpaper to prepare the surface instead of paint strippers, which could have caused damage.
We started with a coarse grit to get motorcycle fairing to paint off, but it wasn't so rough that it damaged the surface. We then moved to a finer grit to get a smooth texture and finished with an excellent paper.
Once you're happy with the finish, you must ensure the surface is entirely free of dust, oil (even from your skin), and grease. You can buy things made just for this, but we found that a contact cleaner worked well.
What you need to know
We've learned that you don't have to use them, but some unusual things can make motorcycle fairing paint small parts faster, cleaner, and more effective. A cheap beach shelter that pops up works excellent as a painting booth. In our case, it kept overspray from getting on other bikes and things in the shed.
But since the shelter only has one opening, you can't get around the part you're painting. We solved this problem with a used lazy susan from the thrift store. Then, a piece of pool noodle was glued to a spinning tray. This lets us reach all sides of the headlight bucket and paint them evenly and in the same way.
Primer and paint are two of the more common things you need.
The other big difference between plastic and metal is that plastic often needs to bend a little, so the paint needs to do the same. Any old paint or primer from the hardware store will crack and flake off, so be sure to use paint made for plastic automotive parts. These paints have chemicals that allow them to bend and move with the amount they are on.
Also, using a primer that can be sanded and has a high build is a good idea. This will help cover any flaws in the surface. Before applying the primer, mask or hide any bolt threads or holes. We used adhesive labels because we had them on hand, but regular masking tape would have worked just as well.
Primetime
The temperature and humidity of the air around you are also essential things to think about. Most motorcycle fairing paint manufacturers will tell you to wait until a better day if the temperature is above 32oC or below 10oC or if the humidity is above 65%.
Once the primer is mixed, hold the can upright about 25 cm from the surface and use a steady back-and-forth motion, slightly overlapping each stroke. Make sure the can stays the same distance from the surface as you move around it. Keep the can moving as you spray, and shake it while using it to ensure the primer stays mixed.
Apply two or three coats, waiting 10 or 15 minutes between each coat, and let the paint dry for at least an hour before moving on to the next step. Sand as needed with fine-grit paper before you put on your top coat. Do this as often as you need to get the best results. Let the clothes dry for two hours. The best way to clean the aerosol's tip is to turn the can upside down and spray until paint stops coming out of the information and only air does.
Just do what it says.
We've all used spray motorcycle fairing paint many times. However, it's still essential to follow the instructions on the can about how to mix the colour in the can before applying it and how the manufacturer suggests using it. Depending on where and how the can have been stored, grit or dust may be on the tip of the aerosol can. This can cause the paint to spurt or drip on the surface you've spent hours preparing, so we like to test the colour on a piece of paper first to ensure it sprays evenly.
Apply three or four light coats of paint using the same method you used for the primer. Give each skin 15 minutes to dry in between. As long as you don't run through the primer, you can sand and reapply as many times as you want, as long as the surface is arid and free of dust before you reapply. A third clear coat can be added, but it's not necessary. It depends on the part being painted and the finish that's needed.
At some point, motorcycle fairing paint, probably think about painting your motorcycle. This could be because you want to save a little money or because you like the challenge of doing everything yourself. But not everyone has an air compressor, a spray booth, or a good spray gun at home.
But who says you can't use aerosol paint to paint a motorcycle in your home shop? Okay, you might not get the same results as a professional painter with a spray booth. It won't last as long as two-part paint used on cars today. And if you change your mind, it will likely cost you time and money to take it off and send it to a professional.
But if you want to learn new skills, get a perfect colour match, and feel good about doing it yourself, stick with me and speed up your learning curve.
How to paint a bike.
You can motorcycle fairing paint well in your home workshop if you learn, practice, and follow a process. So, I've broken down my process into six steps. We'll talk about the first three this week, and next week, we'll talk about the rest.
Before starting, you should talk to a local auto body supplier to find out more about the products and get suggestions. You should be able to ask intelligent questions after reading this article.
Paint on the tank of his cbr954rr fairing.
Step 1: Think about how it will end. What colours do you use in your project? Will there be words, stickers, patterns, or lines on it? Flake or colour that's flat? Shiny or dull?
Once you know what kind of finish you want in the end, it will be easier to figure out how to paint and what supplies you will need. A rough sketch of your paint scheme will help you plan the steps for painting, so don't be afraid to draw it on an illustration.
Oliver Aschenbrenner's sketches will be used to paint the 271 Design cbr954rr fairing.
Step 2: Choose a system for motorcycle fairing paint. If you don't have an air compressor for this process, you won't be able to choose from as many colours. So let's talk about some words you might hear when you speak about paint technology.
Single-stage paint is paint that gets its colour and shines from a single coat. Two-stage paints have two layers: one for the colour and one for the clear skin that protects it (which could be gloss or matte). Base coat/transparent coat systems are what most people call these two-step products.


Log In